How to integrate the Kendo UI Rating Control into a Wisej Application
In this article I want to show you how easy it is to integrate a 3rd Party Control in Wisej and to build up the communication between Wisej and the JS-control. I decided to wrap the Telerik Kendo UI Rating control, which you can find here.
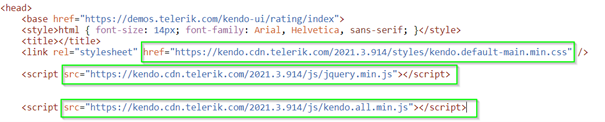
- Find the needed packages
The first step is to find out the needed CSS and JS files. Using the link above, you can open the example under the “Edit” dropdown in the Kendo UI Dojo. Clicking the menu entry, a new window opens, and you have a playground which shows the usage of the rating control. What you also see are the URLs for all the files you need.
- Find the initialization code
Beside the required files, you also need to know how to initialize the control on client side. You can find this part also in the example from 1.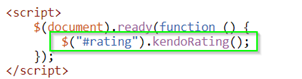
With these two steps we have all we need for integrating the control into Wisej. So, let’s start with it:
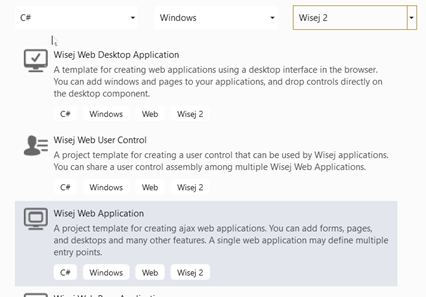
Open a new Visual Studio Instance and create a Wisej Web Application. I’m currently using VS2019.
Add a new UserControl to the project and name it KendoRatingControl; change the base class to Wisej.Web.Widget.
   public class KendoRatingControl : Wisej.Web.Widget
   {
       public KendoRatingControl()
       {
         InitializeComponent();
       }
   }
There are at least two ways to do the next step. You can either use the designer to set the Packages and InitScript code, or you can override those properties in the code behind and modify the getters. I use the designer.
Now add the packages from above (-> 1. Find the needed Packages) to the Package Collection.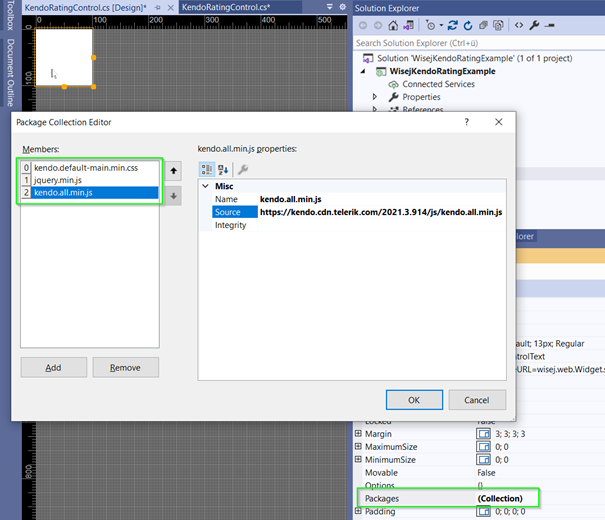
You also need to set the InitScript property, which can be done via the Code Editor.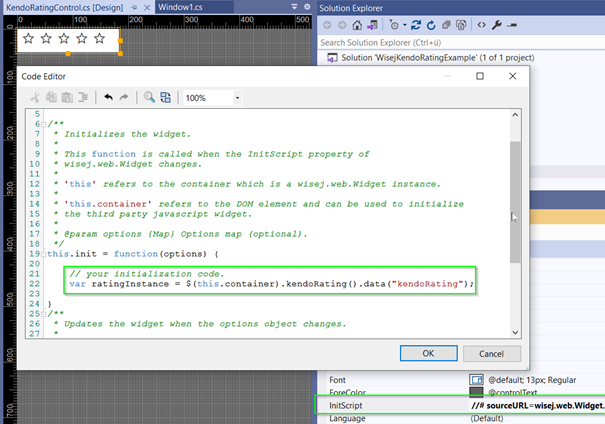
this.init = function(options) {
 // your initialization code.
 var ratingInstance = $(this.container).kendoRating().data("kendoRating");
}
You can see in the Code Editor comment that we can access the 3rd party DOM element by using “this.container”.
After closing the editor, the rating control is displayed directly in the designer.

If you just want to show a 3rd party control in your Wisej Application we’re now done with this. You can put your control on a form, and it will show up at runtime.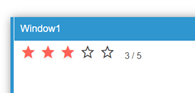
But we want more – our goal is to establish a communication between the rating control and Wisej. We want to change the rating and let Wisej know about that change, and we want to change the rating of the control from outside, from our C# code. So we need to implement two things:
- Communication from Wisej to the rating control
I choose the Wisej.Web.NumericUpDown control to modify the value of the rating control.
In the designer of my form, I add a NumericUpDown control and double click on it. This takes me to the code behind it where I can implement the ValueChanged event.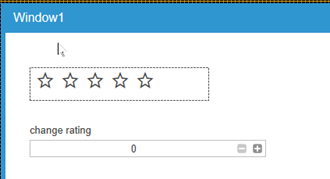
So far, we have not implemented the possibility to change the value of the Kendo UI Rating Control. We are doing this now. Our KendoRatingControl object needs a property value. We remember the server-side value in a member variable called “valueInternal” and also make a JavaScript call to an “update” function, which will update the rating on the client (in the browser).
public int Value
{
     get
     {
         return valueInternal;
     }
     set
     {
         valueInternal = value;
         this.Call("update", valueInternal);
     }
}
In case you are wondering where we can find this "update" function: Updating a JS control is a common task, so we already have a wrapper for it in the Code Editor.
/**
 * Updates the widget when the options object changes.
 *
 * @param options {Map} Options map (optional).
 * @param old {Map} Previous options map (optional).
 */
 this.update = function(value) {
   // your update code.
   var ratingInstance = $(this.container).data("kendoRating");
   if (ratingInstance !== null) {
       ratingInstance.value(value);
   }
} - Communication from the Telerik Kendo UI Rating control (on client) to the Wisej rating control (on server)
This part is more complex than the first one. We need to send the updated rating value to the server and inform our instance about that. Sending an event from client (JS) to server (C#) is done by using the “fireWidgetEvent” function, which takes the event name as first parameter and any payload data as second parameter. In the JS code that creates our ratingInstance, we can also attach to events, which the rating control provides. The control provides the events “change” and “select”. We’ll use the “change” event. So I modify my init-function in this way:
this.init = function(options) {
   // your initialization code.
   var me = this;
   var ratingInstance = $(this.container).kendoRating({
     change: function (e) {
       me.fireWidgetEvent("change", { value: e.newValue });
     }
   }).data("kendoRating");
}
Now the server gets this event when the rating is changed. But so far it can’t handle it and doesn’t know what to do with it. As an entry point on the server, Wisej provides a function called “OnWebEvent” that we can override in our widget and forward the event to the application code. In our KendoRatingControl.cs file we now add this OnWebEvent override.
protected override void OnWebEvent(Wisej.Core.WisejEventArgs e)
{
     if (e.Type == "widgetEvent" && e.Parameters.Event.type == "change")
     {
         if (e.Parameters.Event.data.value != null)
         {
           valueInternal = e.Parameters.Event.data.value;
         }
     }
}
Now we have only updated our valueInternal, but we want to send this event to the application code as well. This is now plain old C# event handling. First, we need our EventArgs and an EventHandler delegate. Therefore, I create a new class named “KendoRatingEventArgs” and put this information in it:
public delegate void KendoRatingEventHandler(object sender, KendoRatingEventArgs e);

public class KendoRatingEventArgs : EventArgs
{
     public int NewValue { get; set; }

     public KendoRatingEventArgs(int newValue)
     {
         NewValue = newValue;
     }
}
In the KendoRatingControl.cs we need to add the event and a method for the event invocation:
/// <summary>
/// Fired when the KendoRating sends a change request.
/// </summary>
[Category("KendoRating")]
public event KendoRatingEventHandler RatingUpdate;

/// <summary>
/// Fires the <see cref="RatingUpdate"/> event.
/// </summary>
/// <param name="e"></param>
protected virtual void OnRatingUpdate(KendoRatingEventArgs e)
{
     this.RatingUpdate?.Invoke(this, e);
}
Finally, we can add the code within the “OnWebEvent” method to send the new value to our application:
protected override void OnWebEvent(Wisej.Core.WisejEventArgs e)
{
     if (e.Type == "widgetEvent" && e.Parameters.Event.type == "change")
     {
         if (e.Parameters.Event.data.value != null)
         {
             valueInternal = e.Parameters.Event.data.value;
             var args = new KendoRatingEventArgs(valueInternal);
             OnRatingUpdate(args);
         }
     }
}
After all these steps we can now open our form with the kendoRatingControl instance, attach to the “RatingUpdate” event and implement it this way: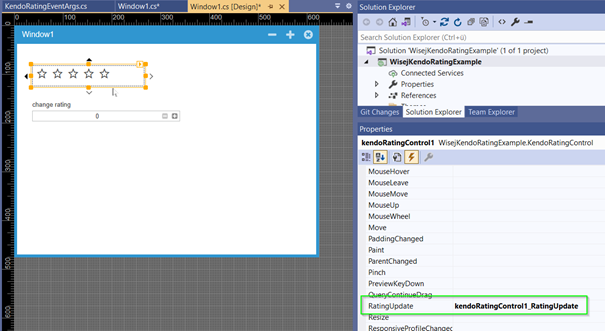
private void kendoRatingControl1_RatingUpdate(object sender, KendoRatingEventArgs e)
{
     numericUpDown1.Value = e.NewValue;
}
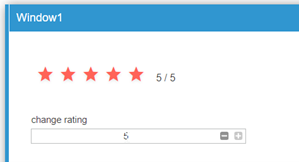
The final step is to run the application and do the rating 😊.
Download now and try for yourself: WisejKendoRatingExample (Zip file)