How to deploy a Wisej Web Application: Step-by-Step Instruction
After finishing a business application migration to web, many customers ask us how to deploy their new web application. There are some things to keep in mind but when everything is configured correctly, it's quite easy.
In this article I'm going to show you in a step-by-step instruction how to get a working deployment of your Wisej application.
Preparation: Setting up the Web Server (IIS)
It's necessary to prepare the IIS web server first in order to host a Wisej web application. I'll show this on a Windows Server 2016 and with Windows 10.
1. Installation on Windows Server 2016
- We start with adding roles and features: On the Windows Server 2016, navigate through this path Server Manager -> Dashboard -> Add roles and features -> Server roles and add the following roles to activate the IIS:

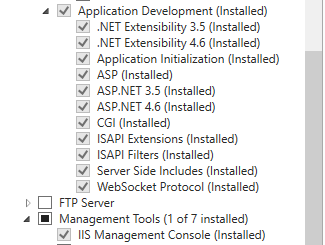
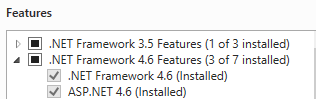
- These are the features you need to add:
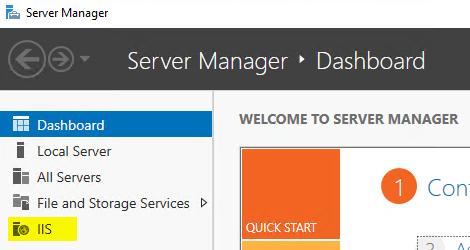
- After you've installed the server roles and features, you'll see a new entry in the Server Manager overview:
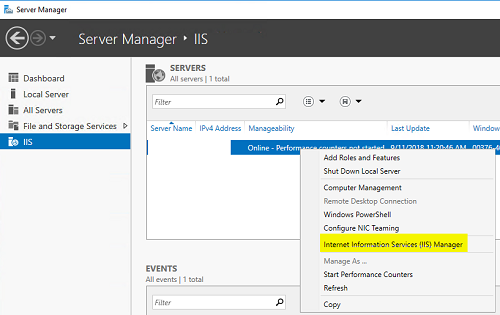
- You can open the IIS Manager from the context menu.
2. Installation Steps in Windows 10
- Open the dialog 'Windows features activate or deactivate' and choose the same options like in the first screenshot under 1.
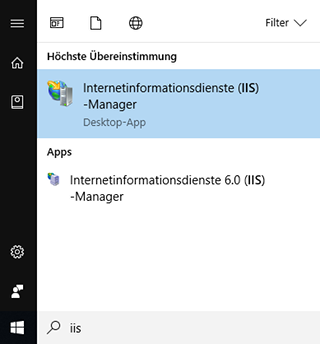
- After the installation is complete, you can open the IIS Manager by clicking the Windows button and typing 'IIS'.
Now that the installations are done, it's time to take a closer look at the IIS Manager.
3. Configuration of the IIS using the Internet Information Services (IIS) Manager
3.1. Adding an Application Pool
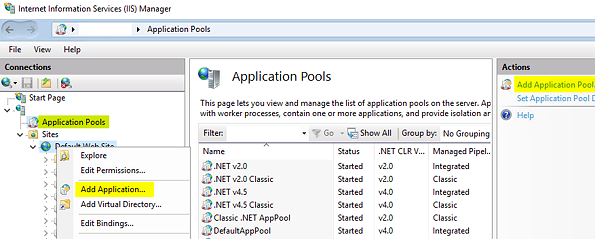
- Expand the tree on the left side and you will find the Application Pools node. I would recommend creating a new application pool for each new web application because an application pool is the process that hosts the web application. If the web application crashed and we had to reset the application pool, then only our application would be reset. But if the application pool hosted several applications then all applications would be reset.
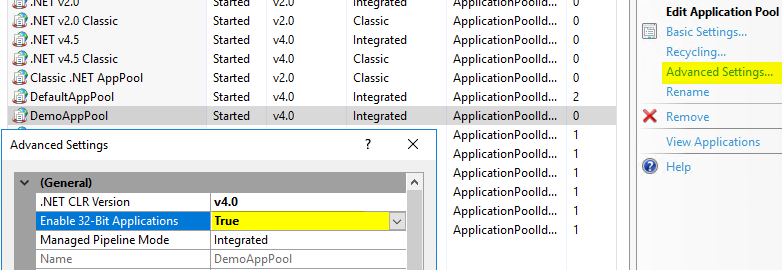
- In some cases, it could be necessary to configure the application pool to allow 32-Bit assemblies. We can do this by opening the Advanced Settings dialog box and setting the property to 'True'.
3.2. Adding the Website
You can either use the default website, which is bound to port 80, or you can create a new one, which will listen to a different port. Let's create a new website.
- Right-click the Sites node and select the 'Add Website' entry.
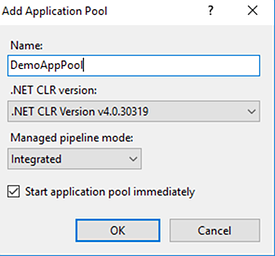
- In the opening dialog box, we can name our website, select or create the application pool which should be used and set the physical path. The physical path can be an empty folder on your hard drive. We also need to set the binding, to define where the website should listen to, and which protocol should be used.
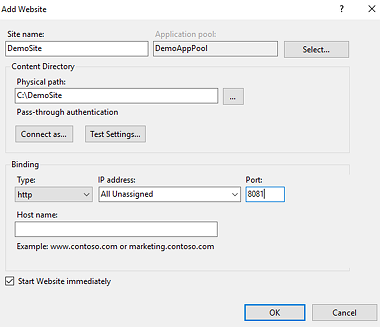
- This DemoSite will listen to port 8081. After closing the dialog box with OK, the DemoSite will start immediately.
Deploying the Wisej application
The IIS is prepared and we are ready to deploy our Wisej web application. I created a DemoApp with Wisej, which I will now host on the IIS. For more details on how to deploy a Wisej application you can follow this link.
1. Placing the Files
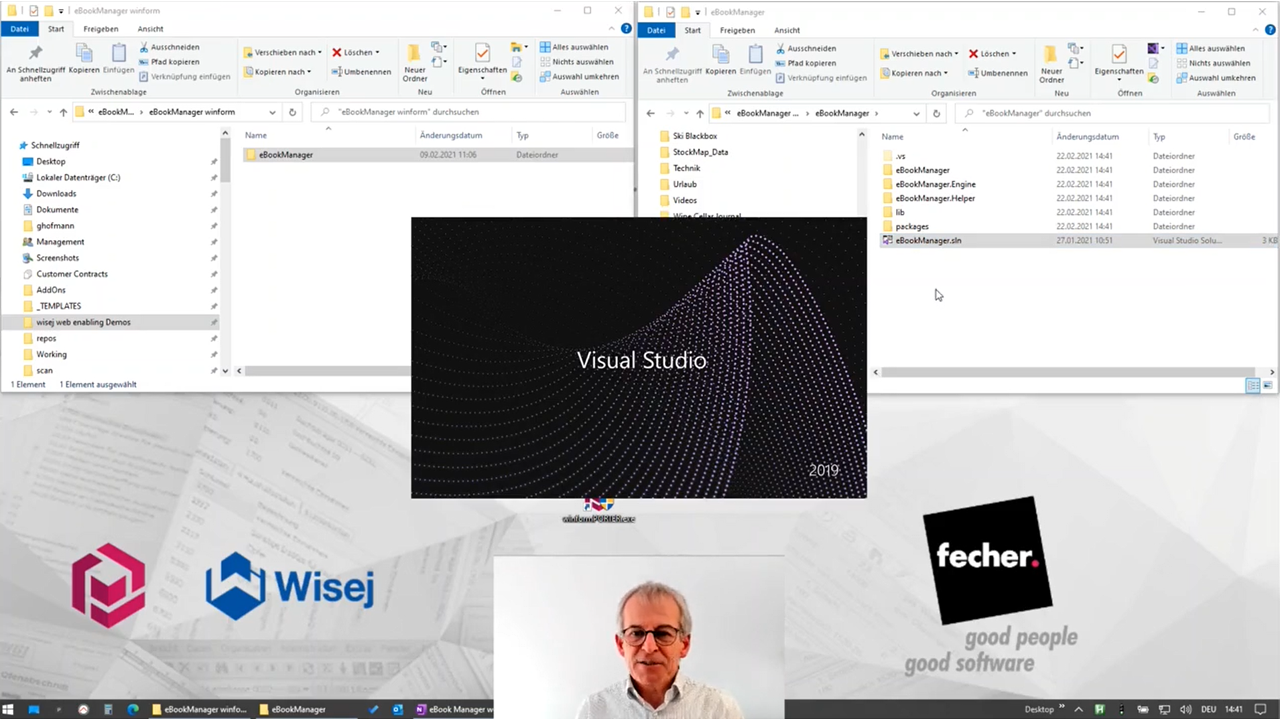
- Create a new folder ('DemoApp') under DemoSite and copy the following files from your project folder to the new one:
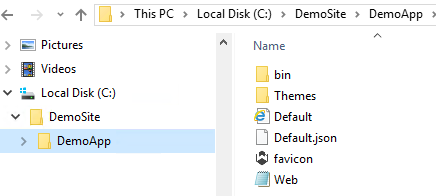
-
After you compiled your application in release mode, you will find many files and folders in the bin folder. For the deployment, we only need the files with a DLL extension – except you need some additional files, which you access from your web app code. In this case, you should normally copy these to the bin folder too. But I would recommend not putting application specific files to the bin folder (like log files). If you need custom files in your code, you should put it under a folder outside the bin directory, like 'Resources/UserData'. When you modify or create a file within the bin folder, the application pool will be reset.
We also must copy the localization folders like 'de', 'fr' and 'pt' to the bin.
This is what the bin folder finally should contain: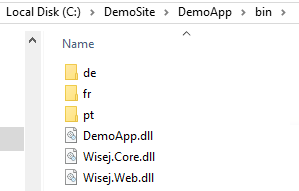
- If you have a custom theme, you need to place it in the themes folder.
- Don't forget to set a valid license key in the Web.config. For more details see this doc at wisej.com.
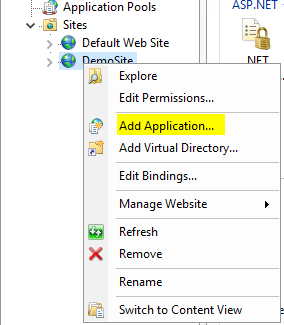
Let's go back to the IIS Manager now and add a new application to our DemoSite.
2. Adding a new Application to the Website
- Right-klick the DemoSite and click 'Add Application':
- We choose an alias for our website in the Add Application dialog box. The alias is the name after the domain. We can change the used application pool and set the physical path to our application folder.

- Because we are using a different port than 80, we must add a new inbound rule for port 8081 to the firewall.
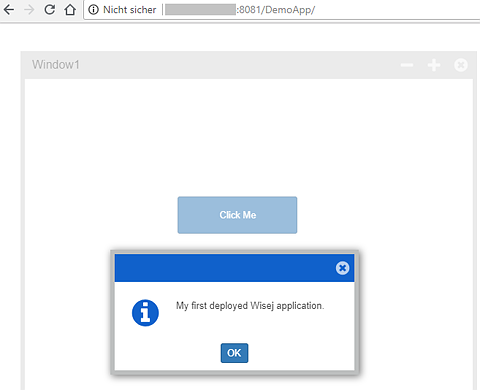
- Now we can open the Wisej application in the browser.
3. Using HTTPS for Your Wisej Application
In a final step, I want to show you how to run a Wisej application using HTTPS.
- We must create a local certificate with the help of makecert.exe. Secondly, we modify the DemoSite to use HTTPS and select the new certificate for localhost. We also have to modify the Default.json from our Wisej application and add 'Secure: True'. Here are the new IIS settings:

So now we can start our browser and navigate to our Wisej application, which uses HTTPS.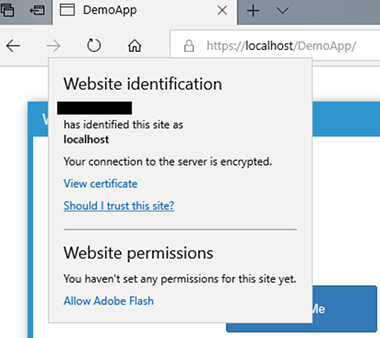
Troubleshooting tips if your Wisej application is not showing up:
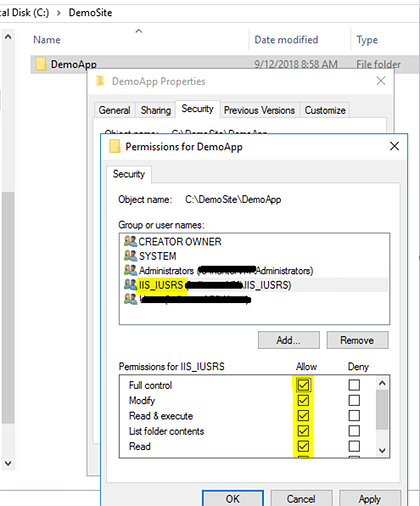
- Make sure that the physical path, which we defined in the IIS, points to the folder where the Web.config file is located.
- Sometimes it could be useful to give the IIS_USER more permissions for the deployed application folder:
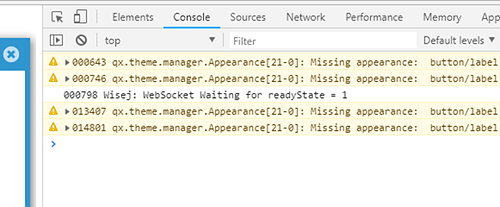
- You can also get useful information from your browser's developer tools. Wisej logs many exceptions in the console window:
I hope this article helps you to get a working deployment of your Wisej application.
See you next time!
Jens